Get Started in the Cloud in 10 Minutes
Introduction
Quick start guide to leverging the power of the cloud using R Studio.
Step 1: Setup an AWS account
Take this link to AWS and sign up for a free account. The credentials you use to create this account will be your root user. It is best practice NOT to use the root user to login to AWS. I’d recommend creating yourself an admin IAM user and using this for the rest of the tutorial.
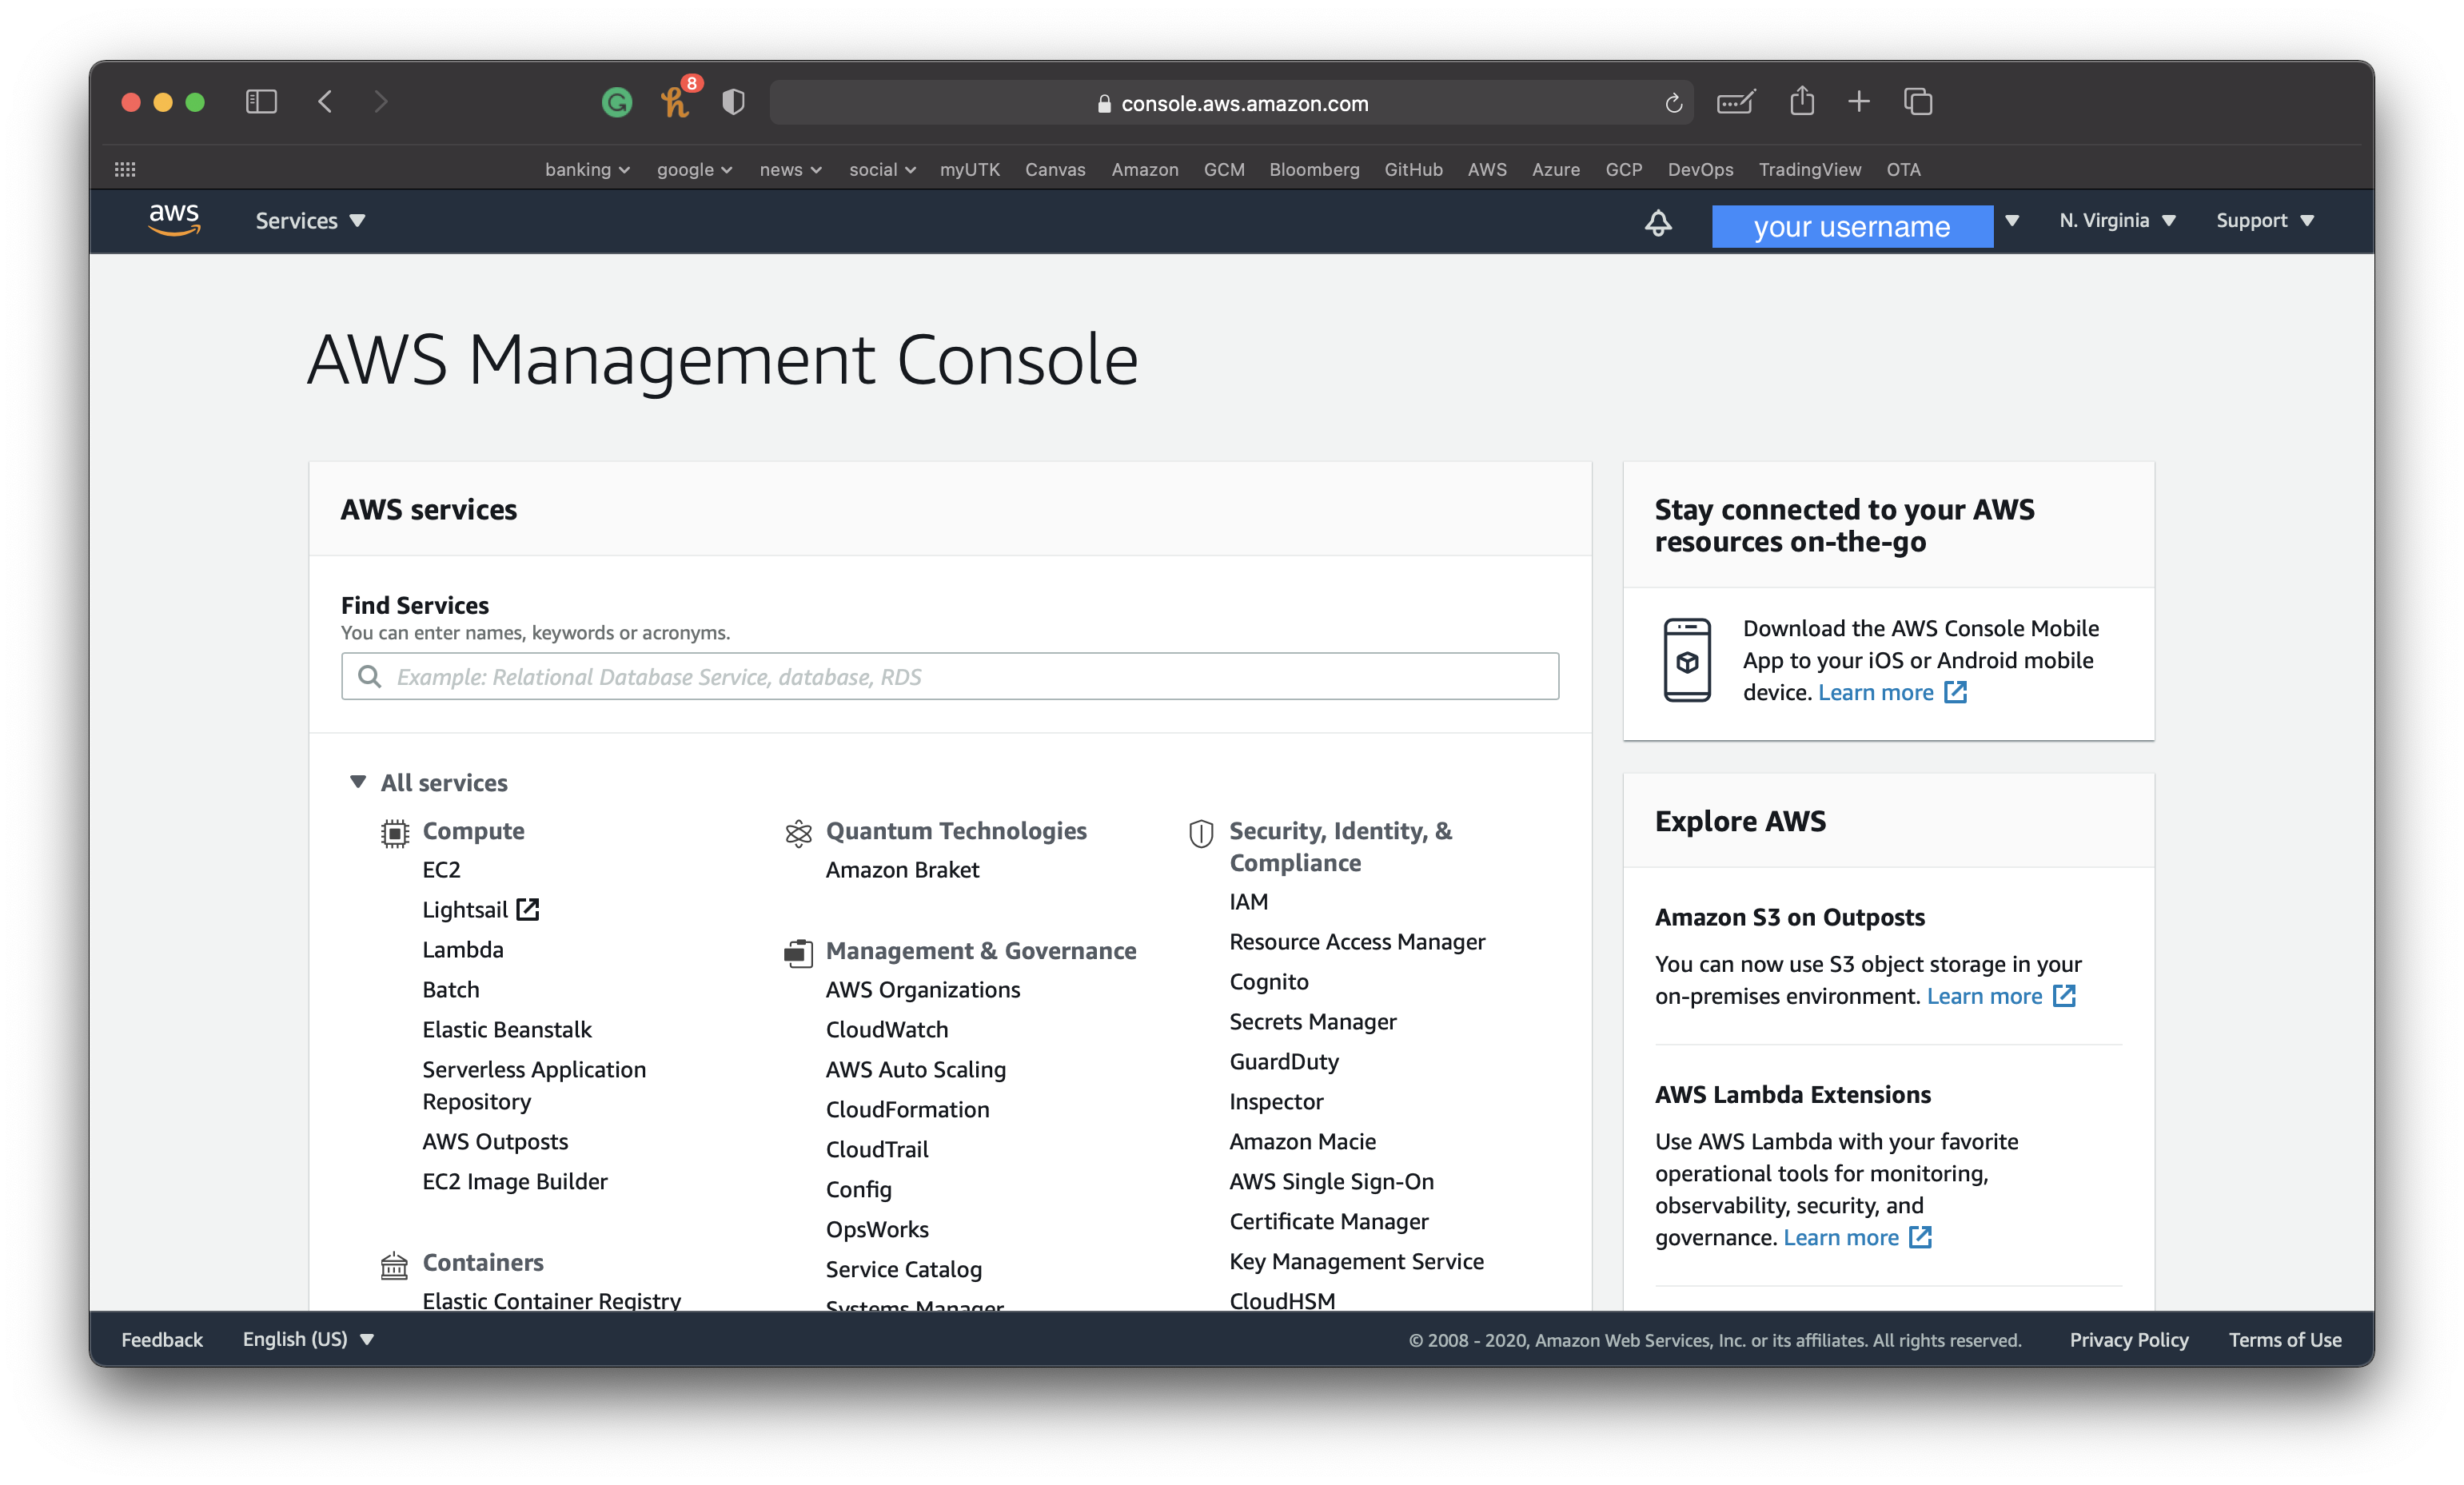
Once you have created your accounts and completed the setup process you should see the AWS Management Console.
Step 2: Request a spot instance
Navigate to the EC2 console by selecting this option under compute.
This is where we can create a virtual machine.
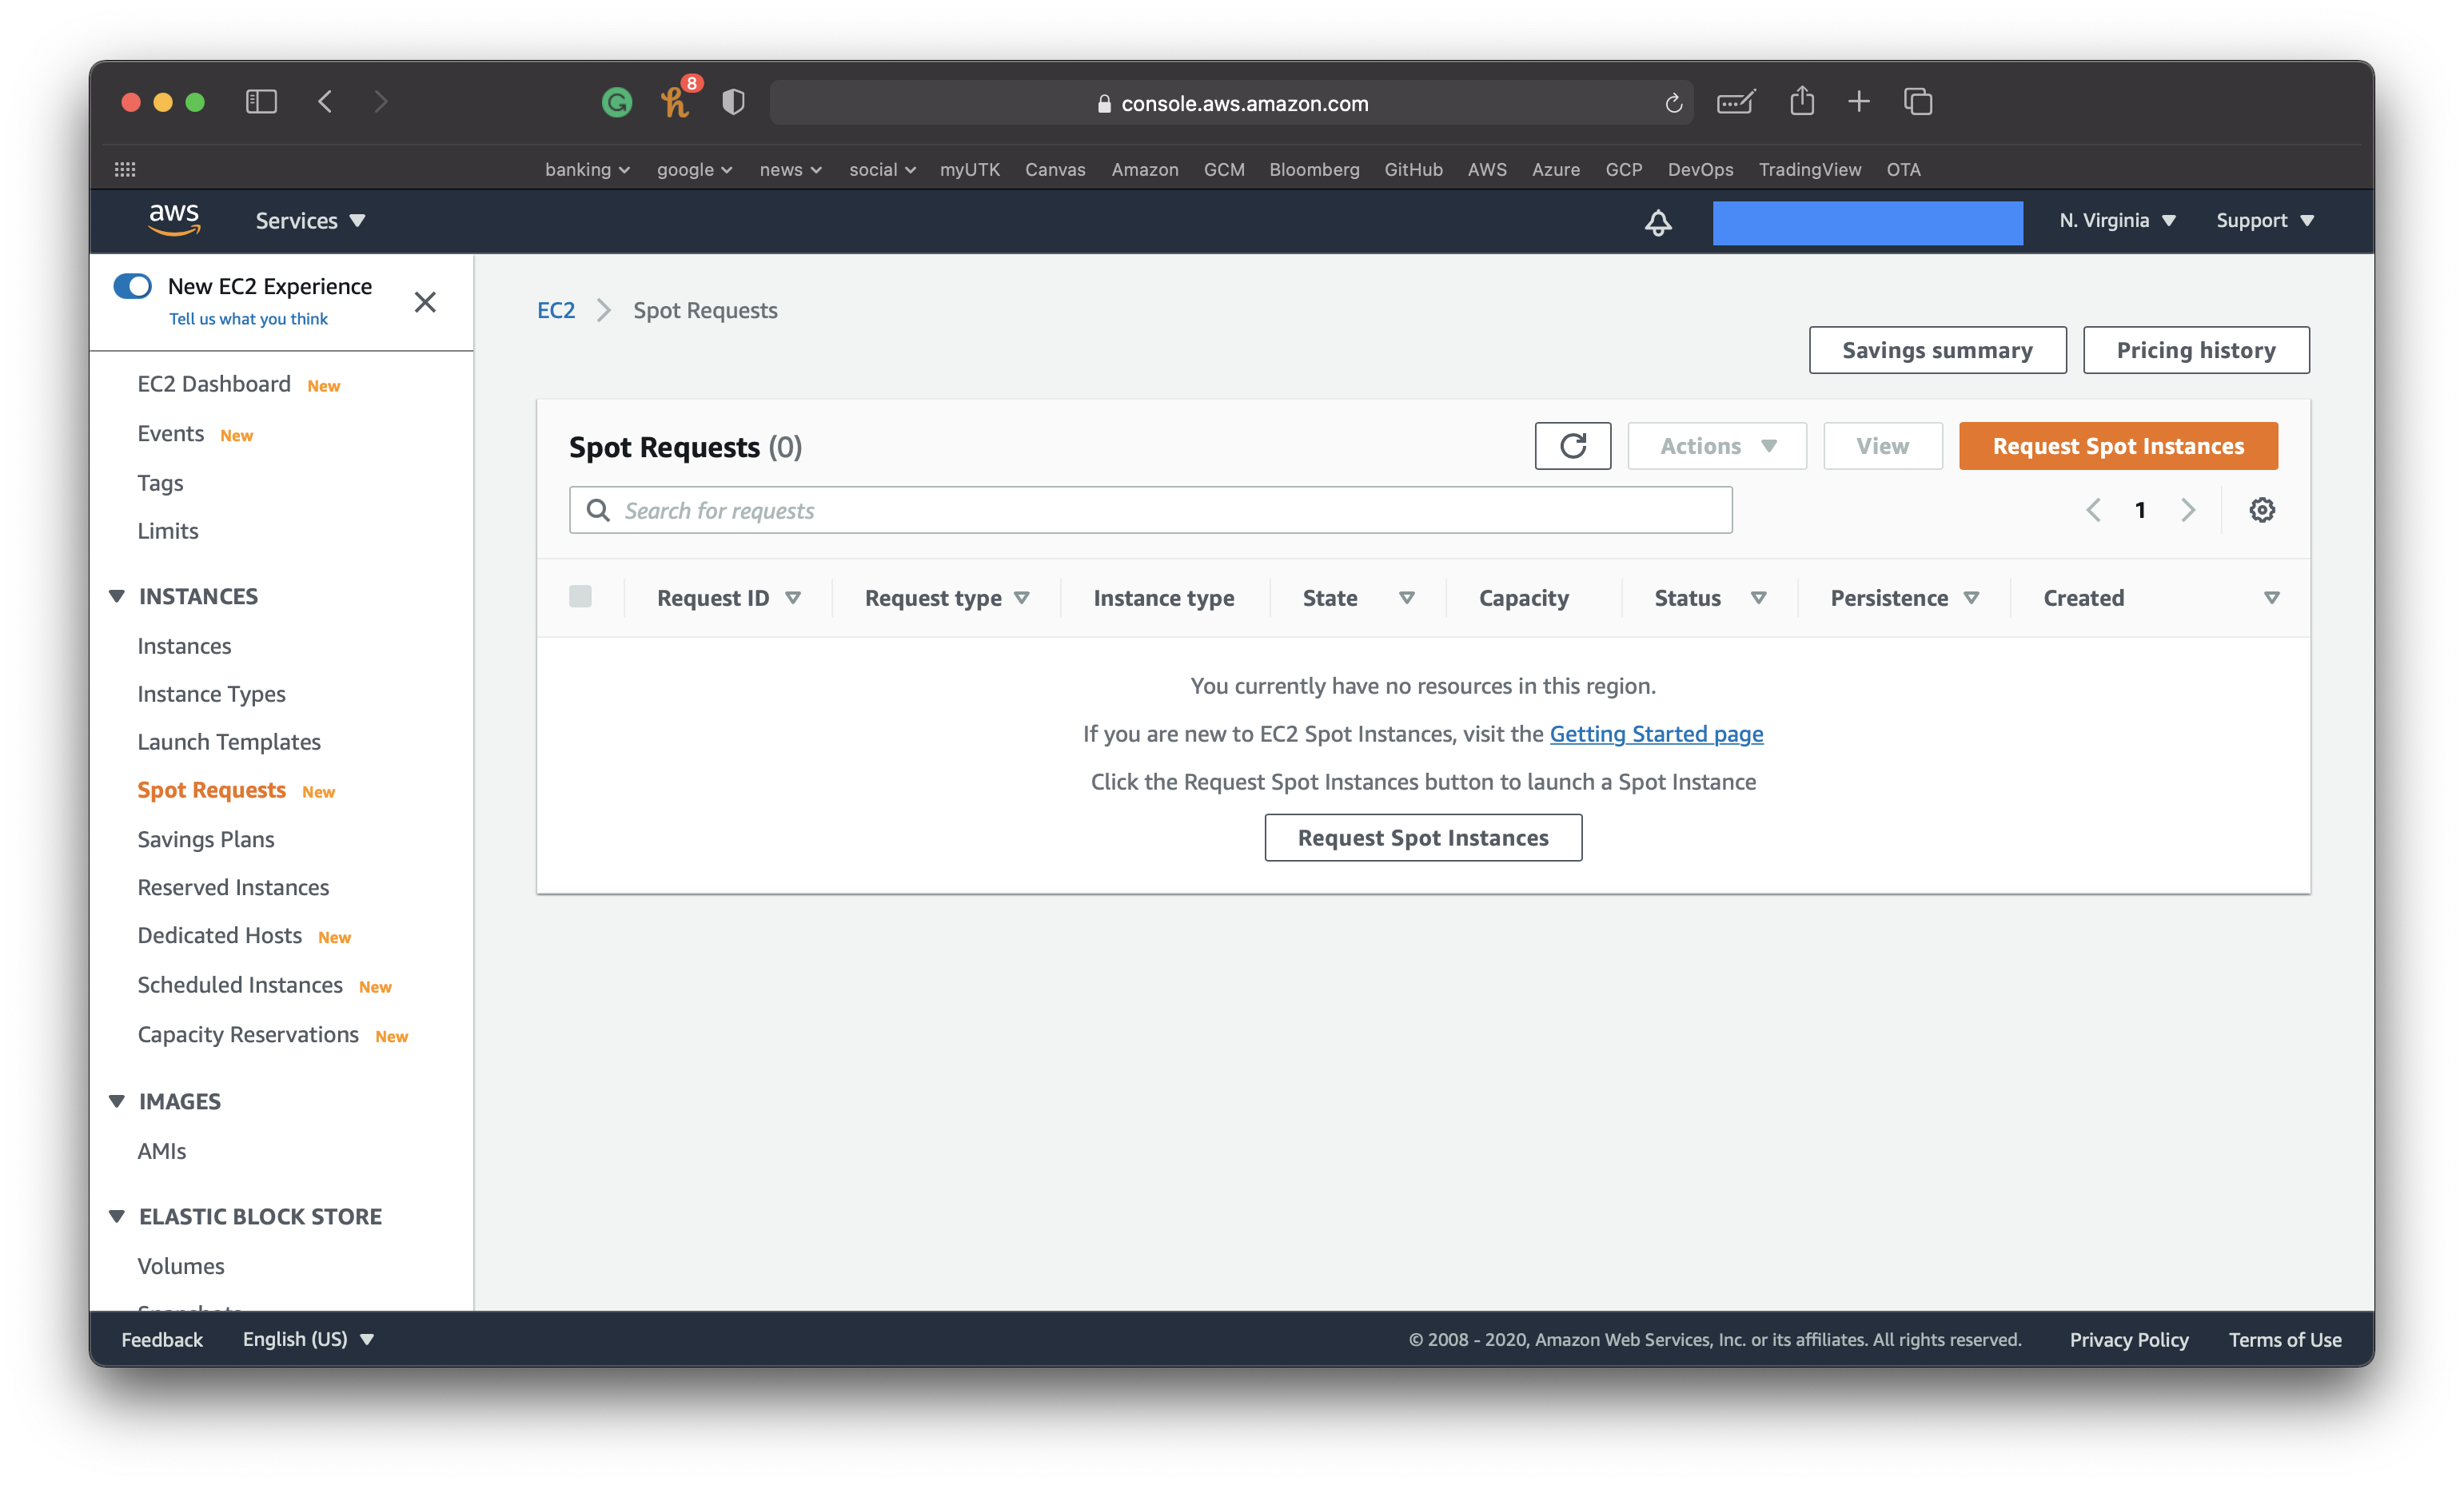
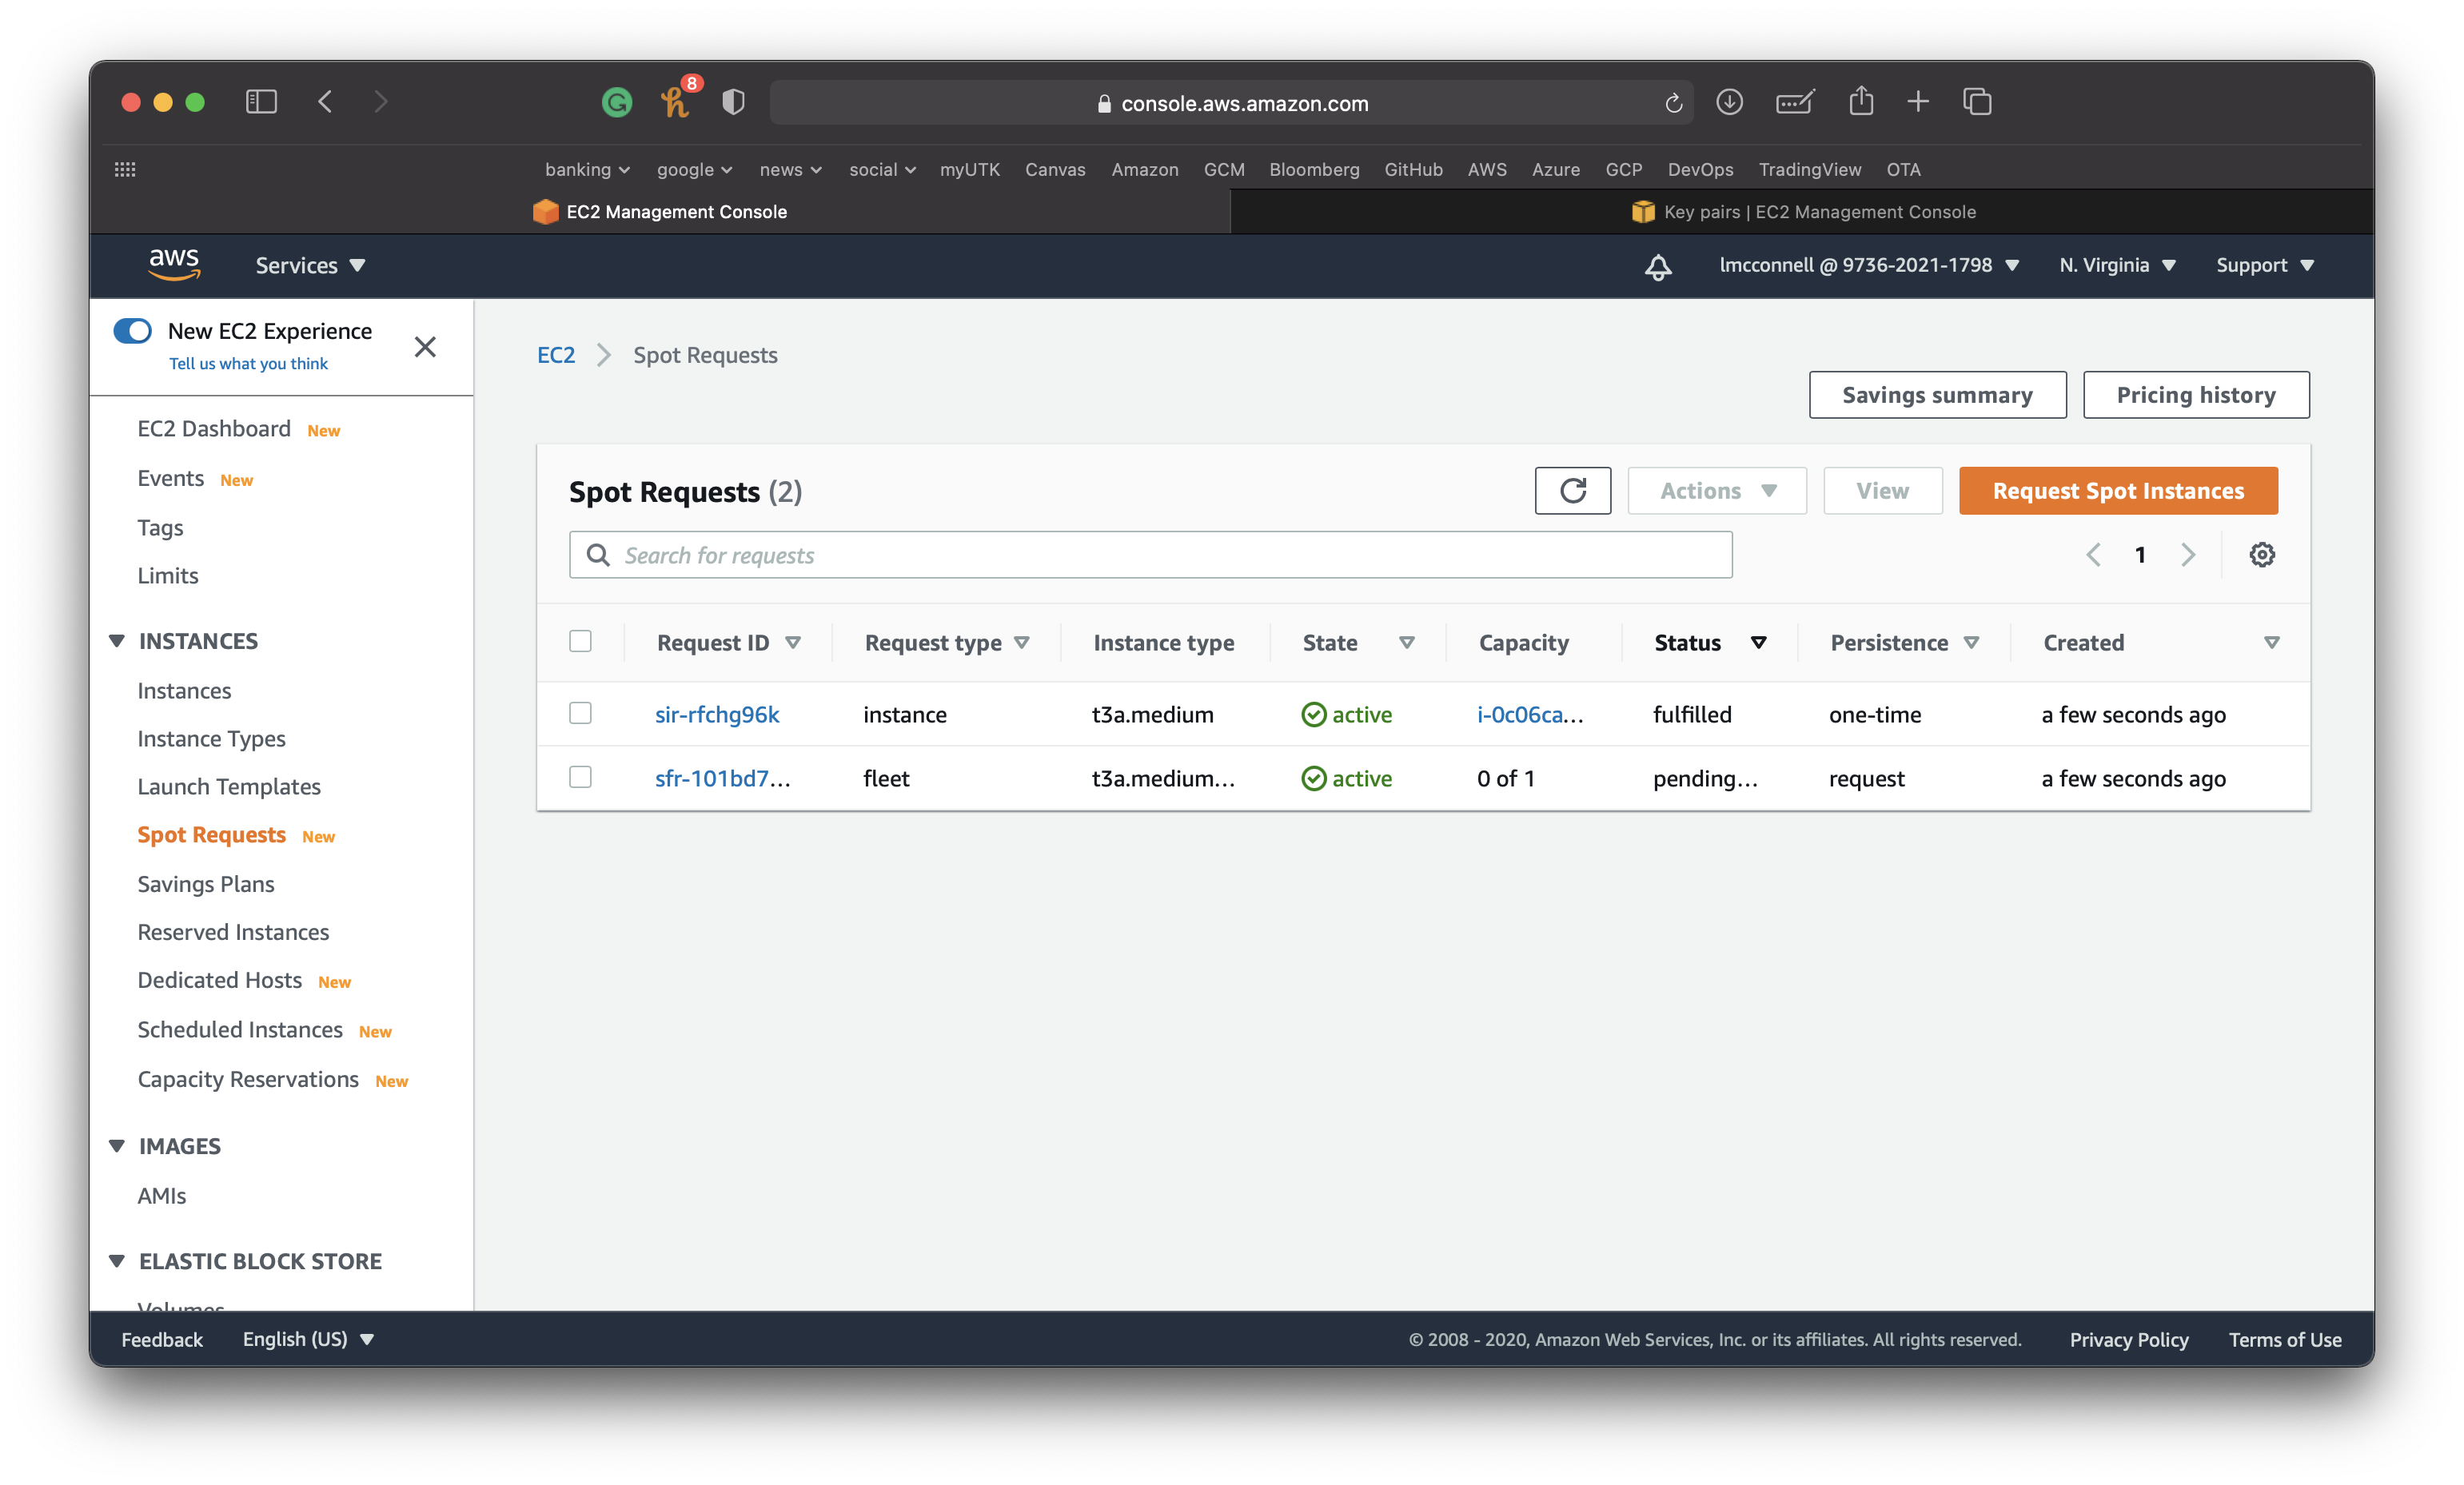
Next select Spot Requests on the left.
An AWS spot instance allows you to take advantage of unused compute nodes at a discounted price.
Instead of letting compute units that aren’t currently in use in AWS data centers sit idle, they “auction” these off at a discounted price.
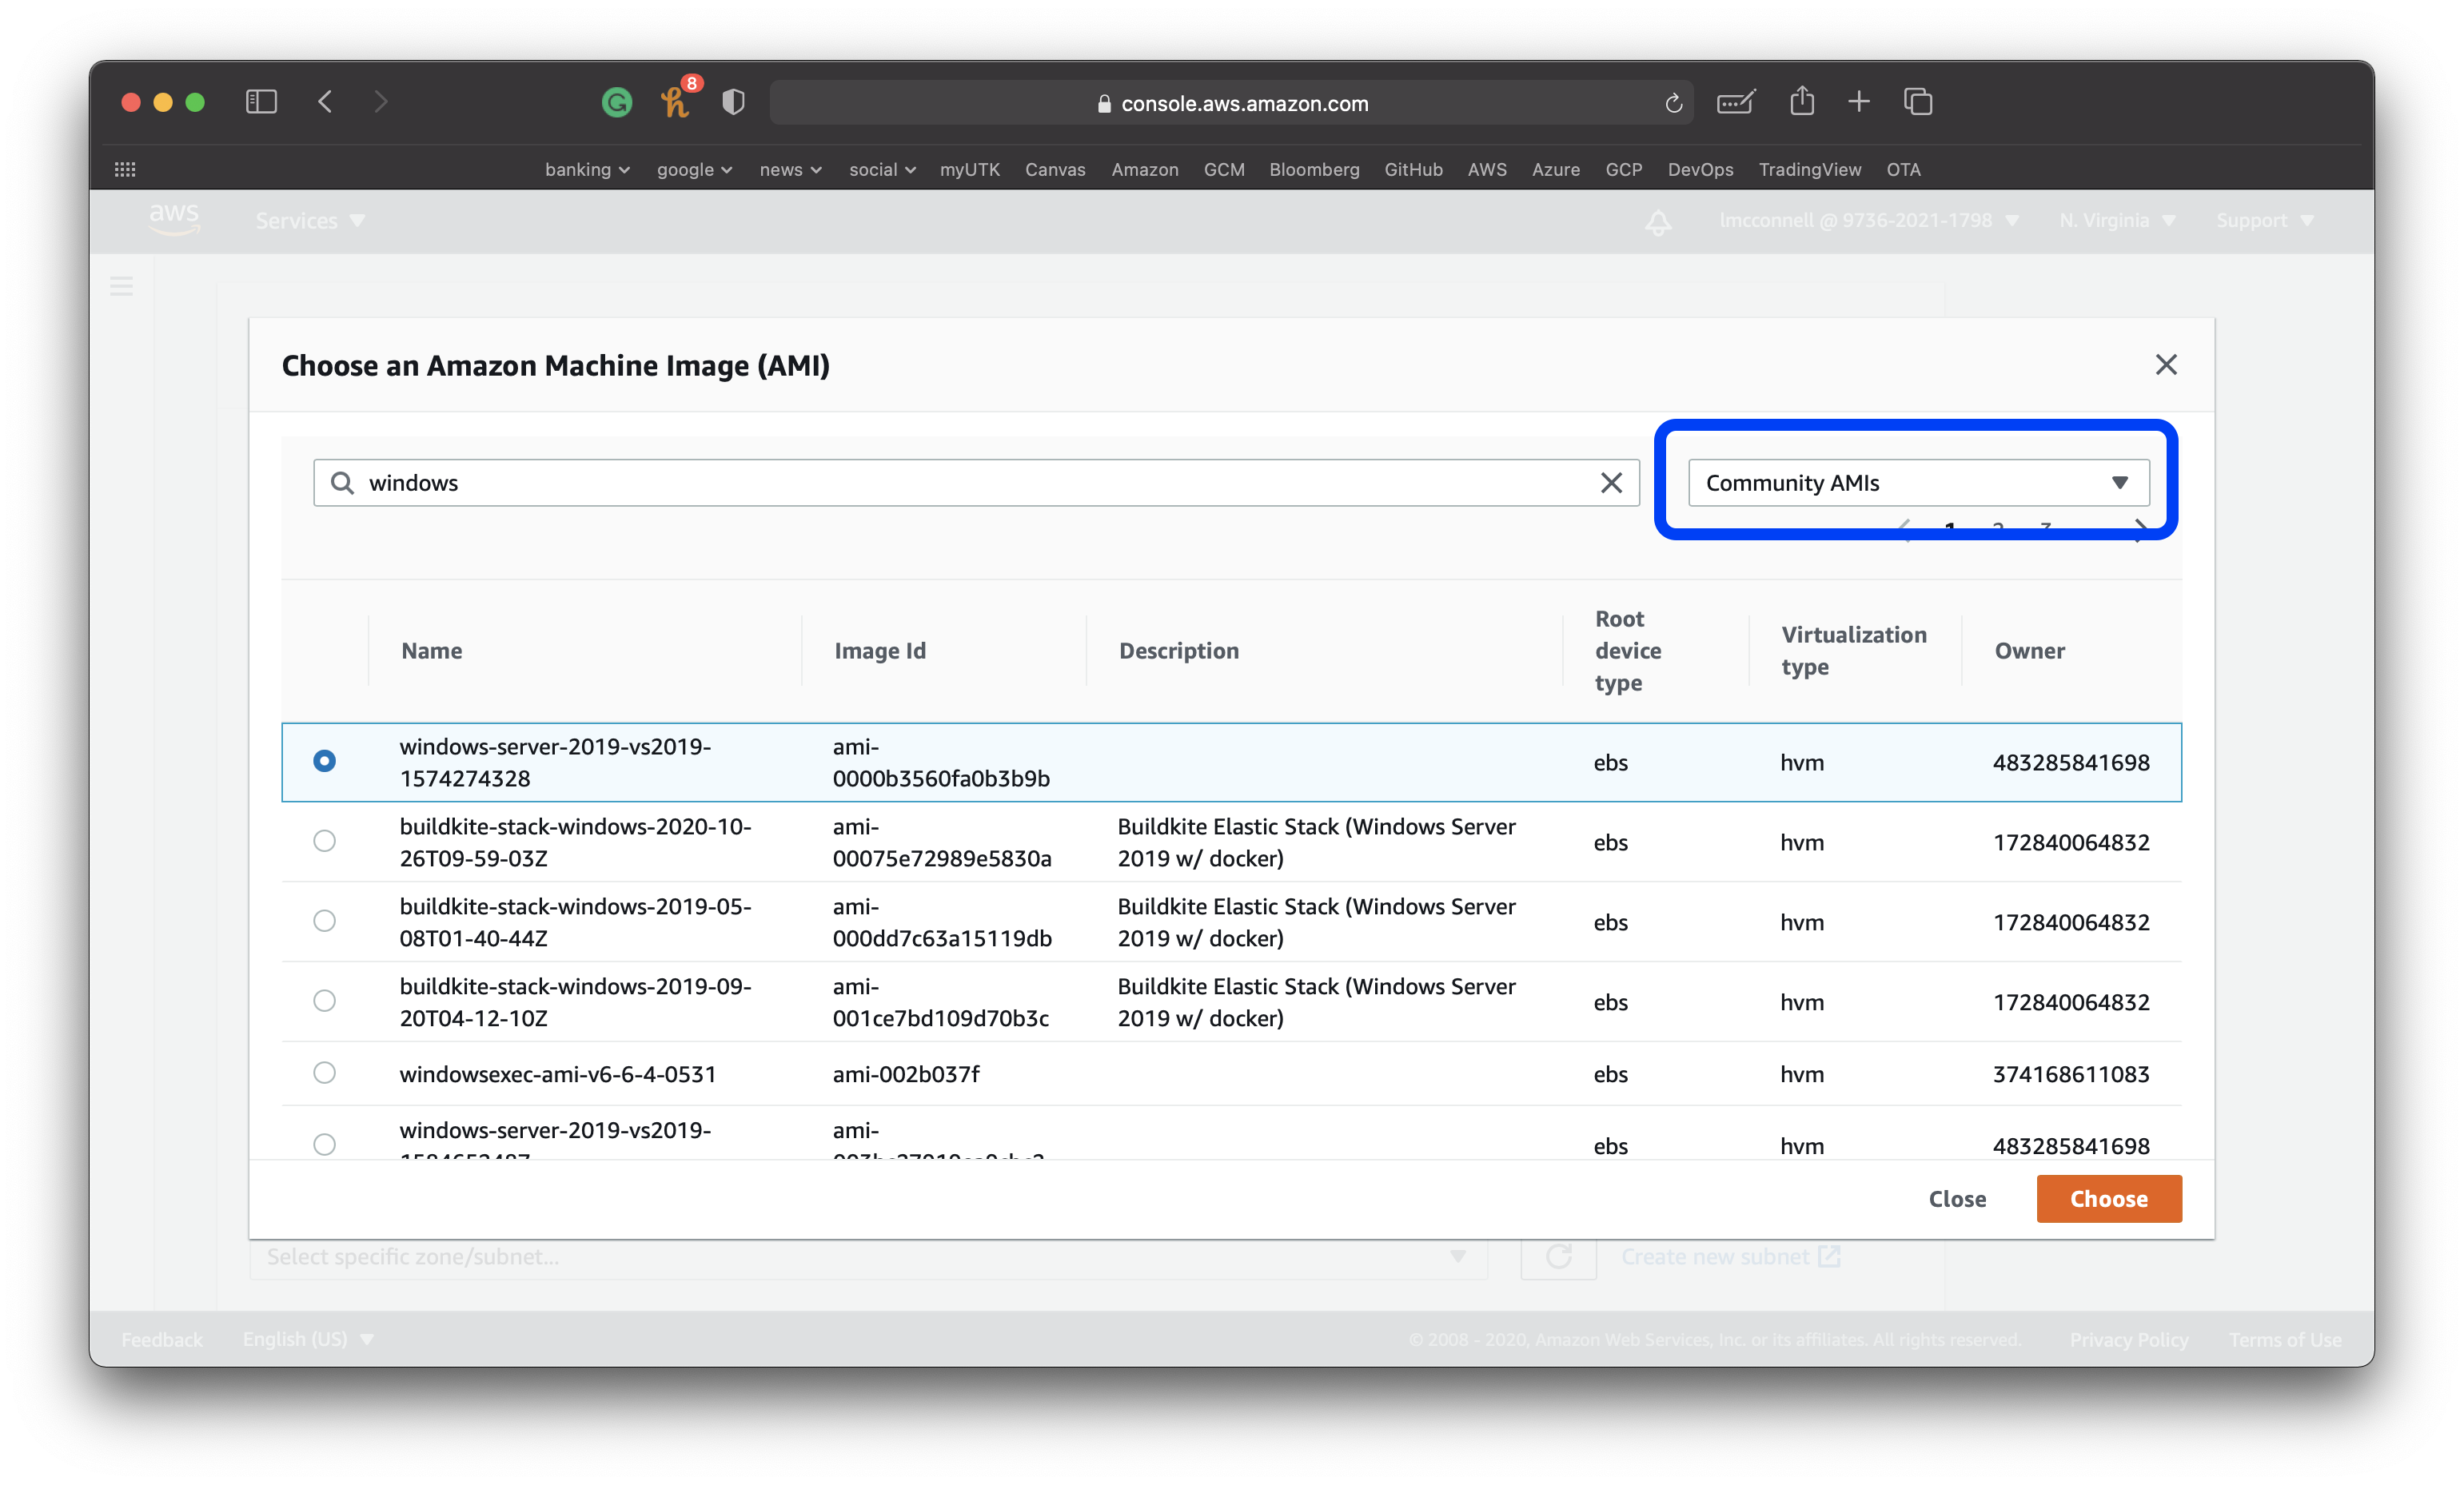
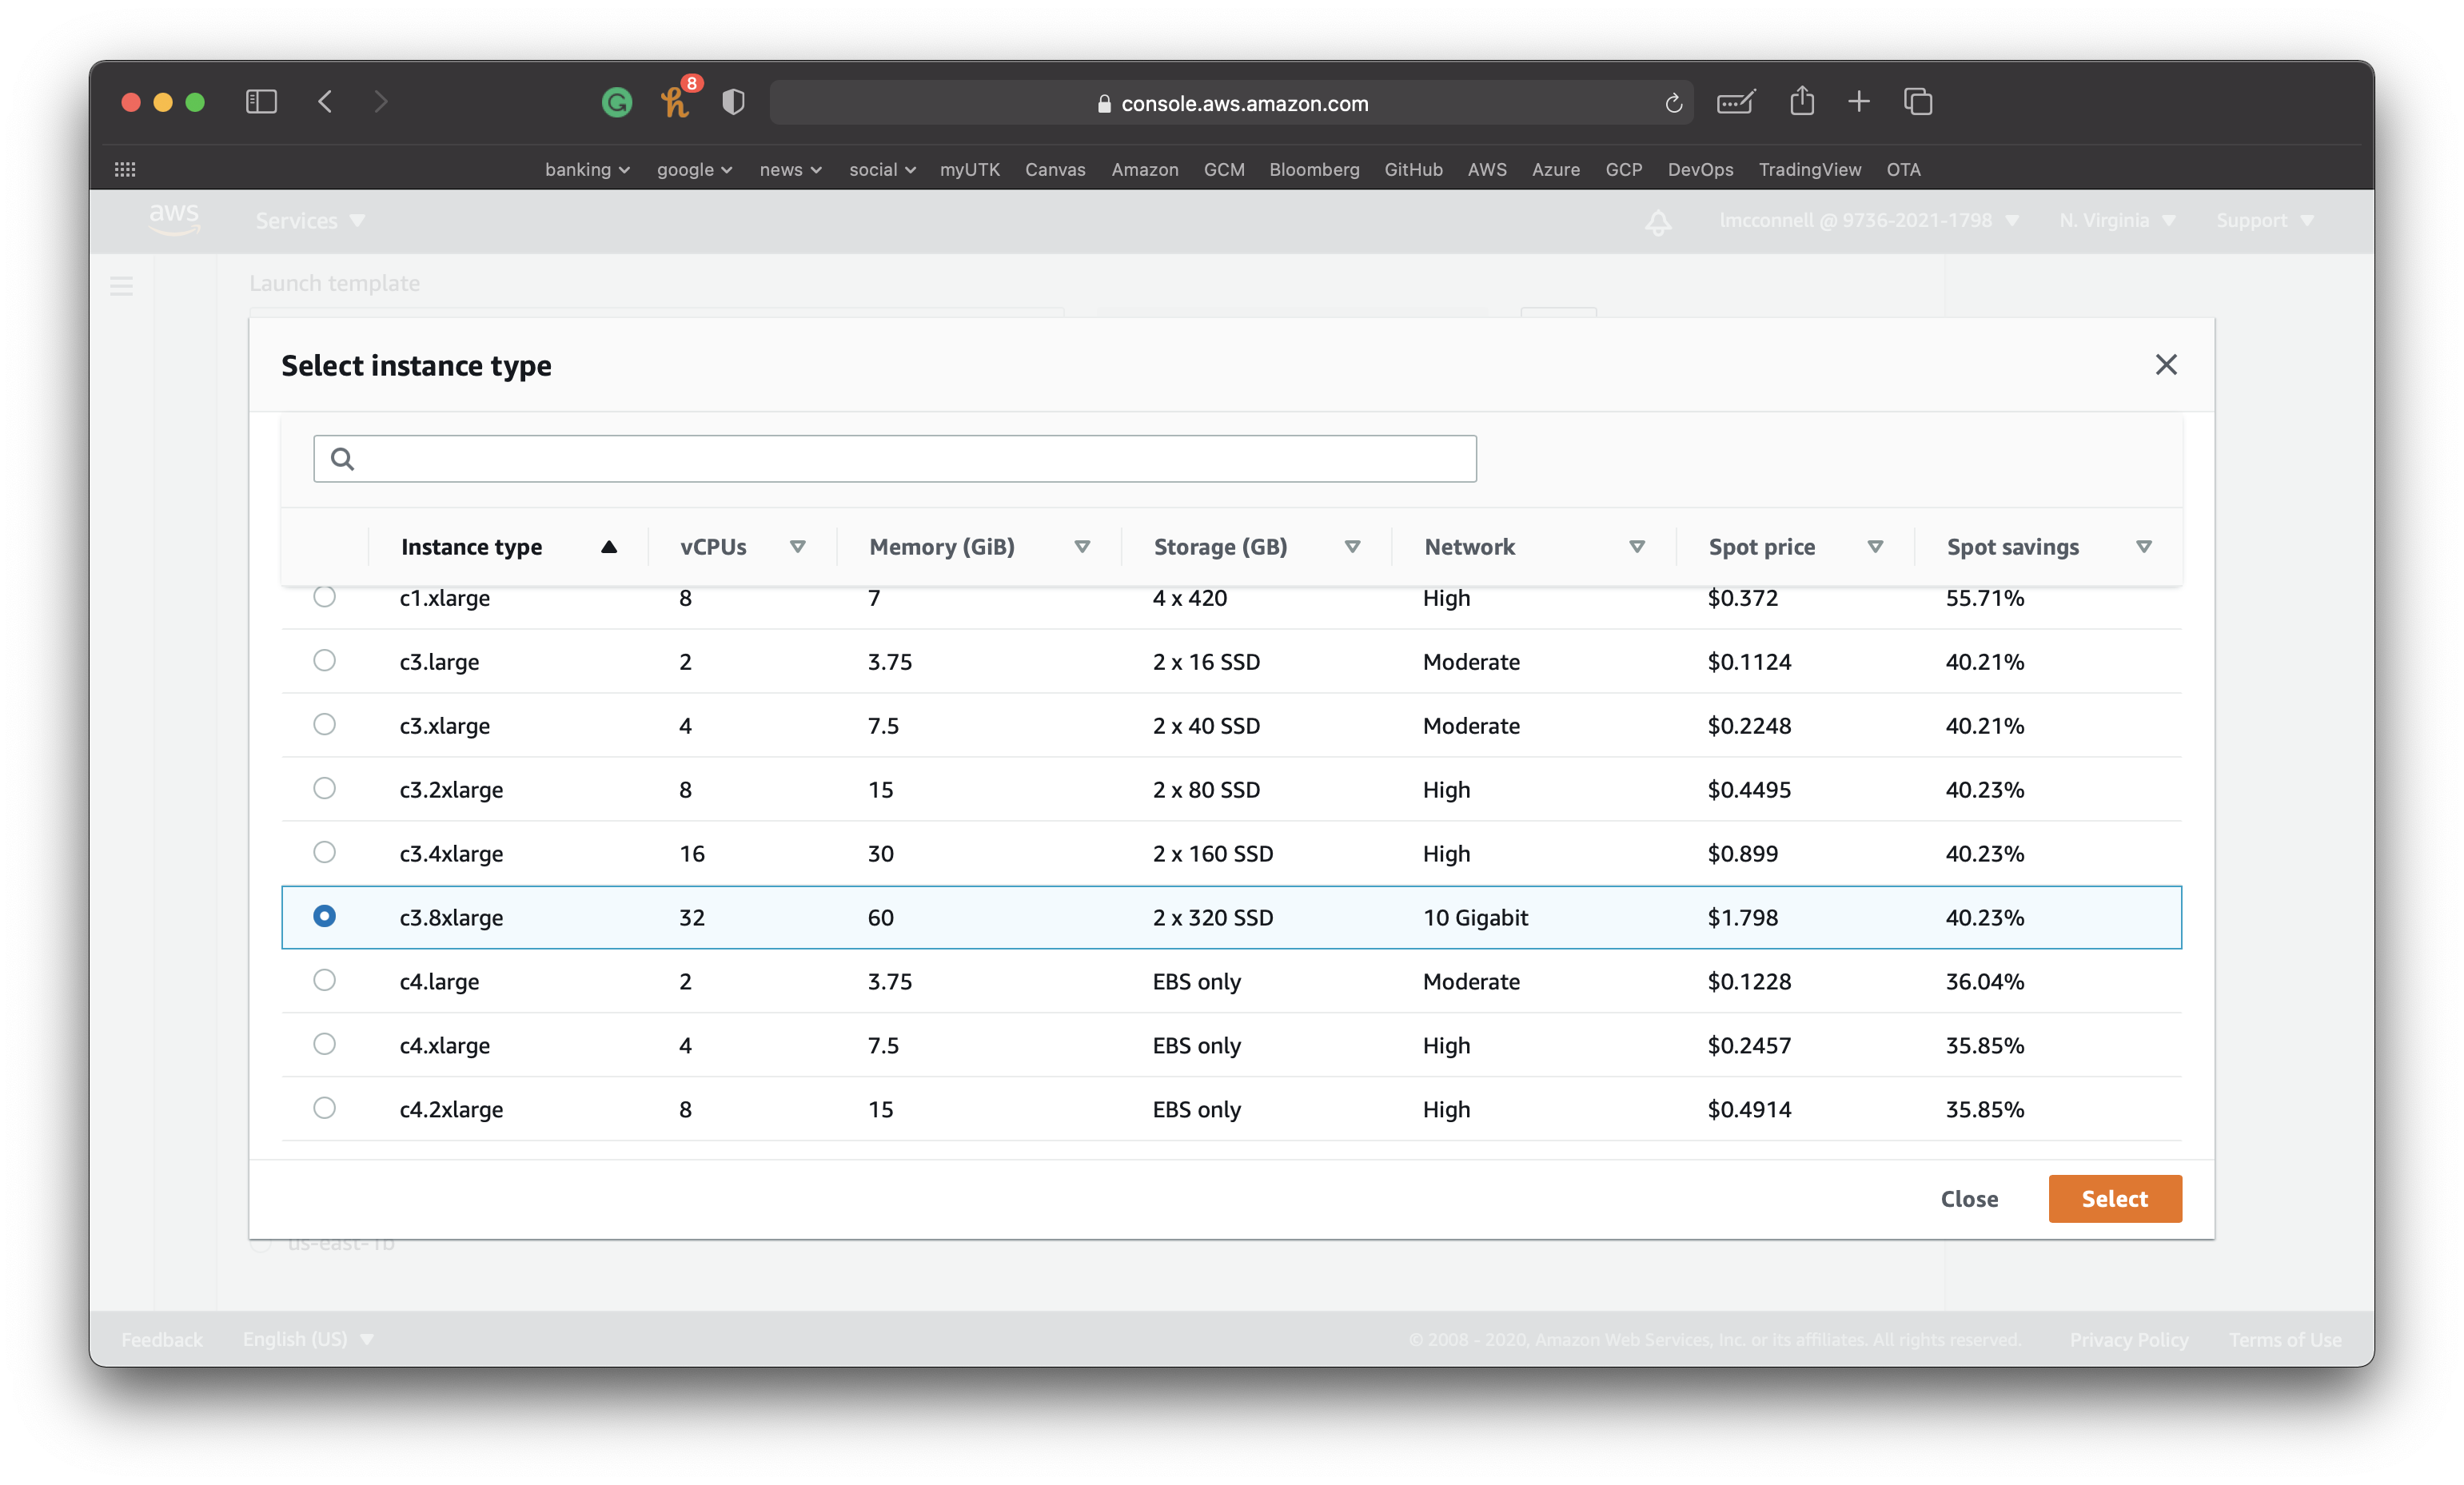
The next page is where we select the kind of machine that we want to request. This is where we can begin to leverage the benefits of the cloud. Instead of being limited by the hardware of your local machine, we now can access a very powerful one in the cloud. You are billed by the amount of time you use these resources. The more powerful the resources, the most expensive they are.
I used the following criteria to request a pretty powerful spot instance. Adjust these to match your workload and don’t forget to shut down these resources when you are finished with them.
Need: Big data workloads
Launch template: None (use one of these if you will set the same request often)
AMI: Windows Server 2019 (this is how you select the flavor of virtual machine you will have)
Minimum compute unit: c3.8xlarge (this cost can add up if you forget to terminate the instance when done!)
Network: leave as default
Availability zone: any is fine (use the region that is closest to you, which is controlled in the top right of the AWS Management Console)
Key pair name: Create a new pair (VERY IMPORTANT: You must create and save a new key pair to connect to the instance. Walk through this process and download the .pem file to your local computer)
Target capacity: 1
Fleet request settings: uncheck "Apply recommendations"
Click launch.
Step 3: Launch your virtual machine
Click instances from the left-hand menu and you should see an instance with a state of running and a status check of initializing.
The machine will take a few minutes to initialize.
Once the instance has passed the status check, click on the instance id and then select connect from the top right.
If you are unfamiliar with command line tools you will want to connect using an RDP client.
Click Download remote desktop file and save this file on your local machine. If you are on a Mac you may need to download Microsoft Remote Desktop. Most Windows machine have a remote desktop client already installed.
Below the button to download this file you will see an option to get the password for your machine.
You will need that key pair file you downloaded to access the password.
Once you have de-crypted the password, open the rdp file to remote in to the machine.